
First, make sure you Register for ZAPP. Creating an account on ZAPP is free and easy. You can register as an artist or non-artist vendor depending on your needs. Click here to register now.
Applying to Events on ZAPP
Looking for a video tutorial? Watch our How to Apply video here.
THE EVENT INFORMATION PAGE
Each event on ZAPP has an Event Information page that presents all basic information about the event and what you need to know both before and after you submit your application. The Event Information page is broken up into four sections:
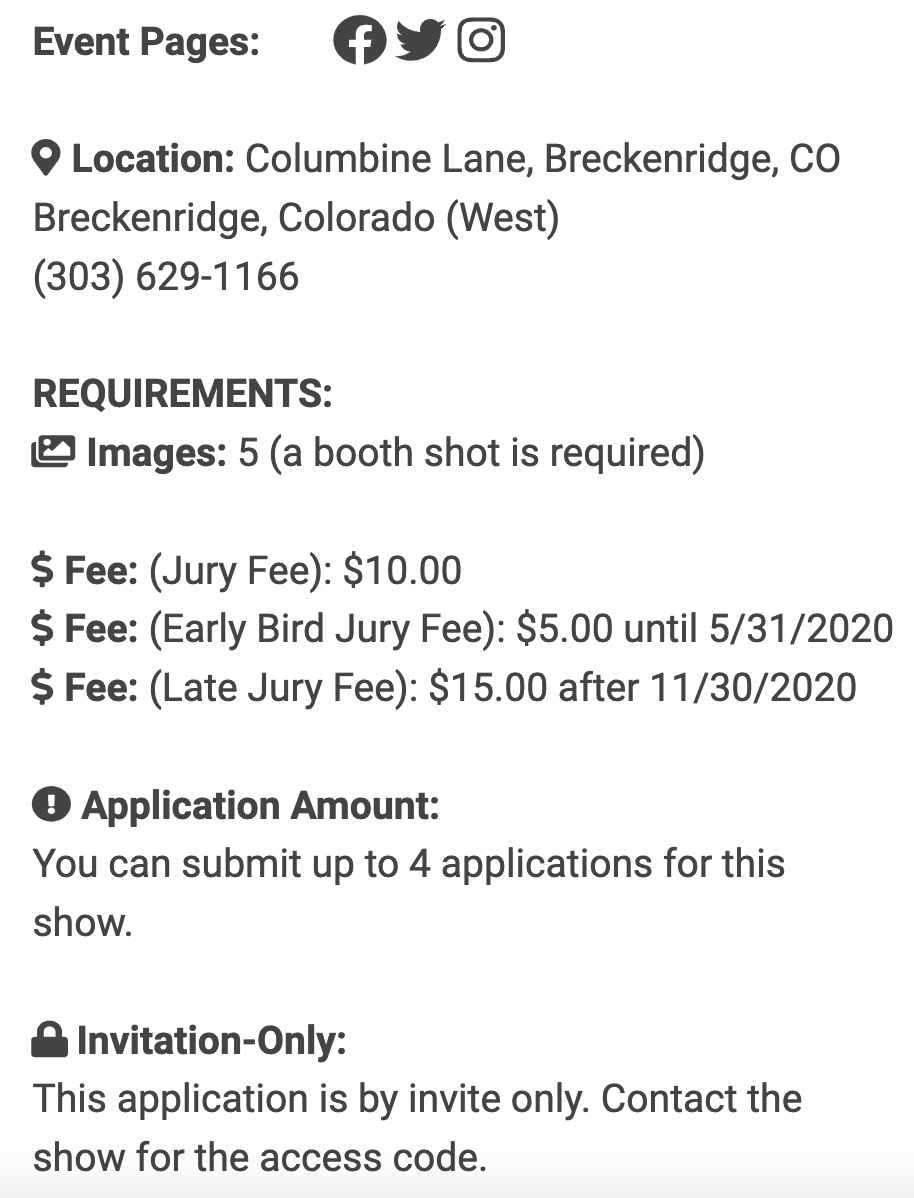
1. Basic Event Information: Each page has a list of event details with the event’s location, image requirements, application fees, the number of applications one artist can submit, and any social media pages the event has chosen to connect. If an event is accepting applications by invitation only, it will be stated in this section as well.
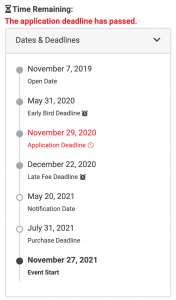
2. Event Timeline: The event timeline is underneath the basic event information. The timeline lists important dates for the event: the application open date, any early bird & late fee deadlines, the application deadline, the notification date (if the event chooses to display it), the accept invitation and purchase deadline, and the event start date.
3. The Event Prospectus: The majority of the page contains general information about the event filled out by the event organizers. The page may be broken up into four sections: General Information, Rules & Regulations, Booth Information, and Jury Details, though not all sections are required. To navigate between sections, click on the buttons at the top of the page.
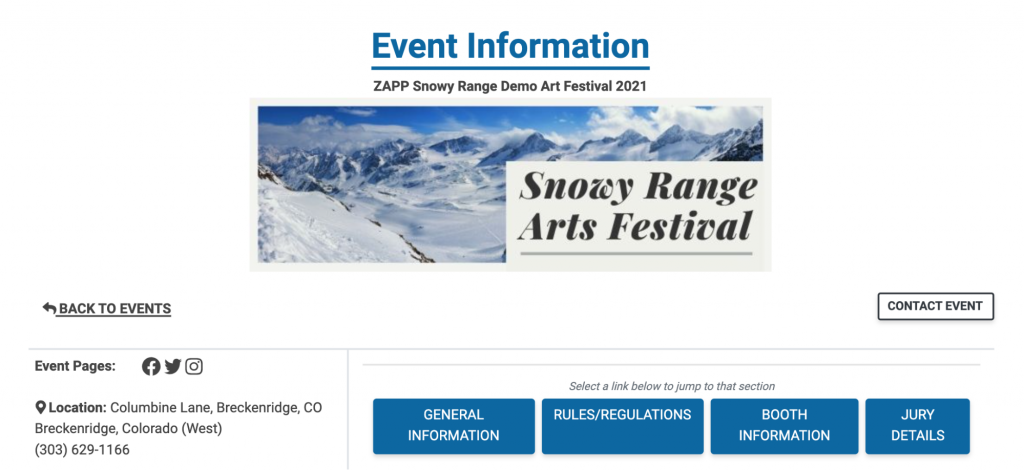
Any questions about the event should be directed to the event administrators. You can find their contact information by clicking the “Contact Event” button or by calling the number listed under the Location section of their page. All events will list an email under the “Contact Event” button.
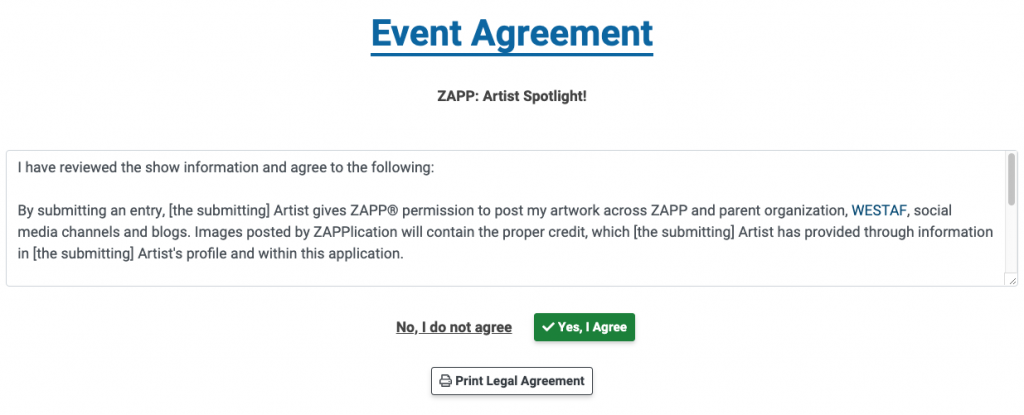
4. The Legal Agreement: You can review the legal agreement before or after applying to the event by scrolling to the bottom of the event’s information page and clicking the “View Legal Agreement” button. You can also print or save the event’s legal agreement from this page.
Once an event begins accepting applications on ZAPP, the legal agreement is locked. Changes can only be made after the event has emailed applicants with those updates.
COMPLETING THE APPLICATION
When you are ready to apply, click the “Apply to this Show” button at the top of the page under the event’s logo. If the event is an Invite-Only event, you will need to enter the access code before you are able to start an application. If you do not have the access code, you will need to contact the event.

TIP: If you have questions about the event, click the “Contact Event” button to email the event directly.
Before starting the application, you must agree to the event’s terms and conditions. You can print or save the legal agreement from this page. Once you agree to the terms, you will see the application.
The Application: Answering Application Questions
The first two questions you will complete are the same on every application. You will be prompted to select a medium category and insert or write a Statement of Technique.
The event administrator determines which medium categories are available. If you have questions about which to choose, please reach out to the event organizers.
- To insert a saved Statement of Technique, click the Choose Method dropdown menu and select Insert Saved Statement. On the window that appears, select the statement you would like to add. If you cannot insert your statement, it may be that the statement exceeds the application’s character limit. To learn more about saving Statements of Technique, click here to view our help page on the Portfolio.
- To type your Statement of Technique, click the Choose Method dropdown menu and select Type Statement. Type or paste directly into the box that appears.

After inserting your Statement of Technique and selecting your medium category, you may be prompted to answer additional questions. Questions labeled (Required) must be answered to submit your application. If present, click on the blue question mark icon to bring up additional information about how to answer the question.

TIP: Click the Save Progress button often to save your progress and avoid losing your work.
Once you have answered the application questions, click Continue to be taken to the Image Selection page.
The Application: Selecting Images
Not all events require images to be submitted with the application; however, a majority of events on ZAPP do have this requirement. If you are applying as a non-artist vendor, you may not be required to attach images to your application and will be directed to the Application Preview page. When completing an application for an event that does require images, you will see the Image Selection page.
The first section of this page will display the number of required artwork and booth shot images. The My Artwork Images section displays thumbnails of the images uploaded to your portfolio. Click on the images you want to attach to the application or select Upload Artwork Image to upload a new image. If a booth shot is required, click on the image from the My Booth Shots section. Click here to learn more about uploading and editing images and image descriptions.
Jurors will view your images in the order submitted. Images will initially be placed in the order you select them, with the booth shot (if required) always appearing last. To reorder the selected images, click Change Image Order and drag the images into your preferred order. Click Save & Preview to save the new order.
Click on the orange (●) icons to learn more about attaching images to your application.
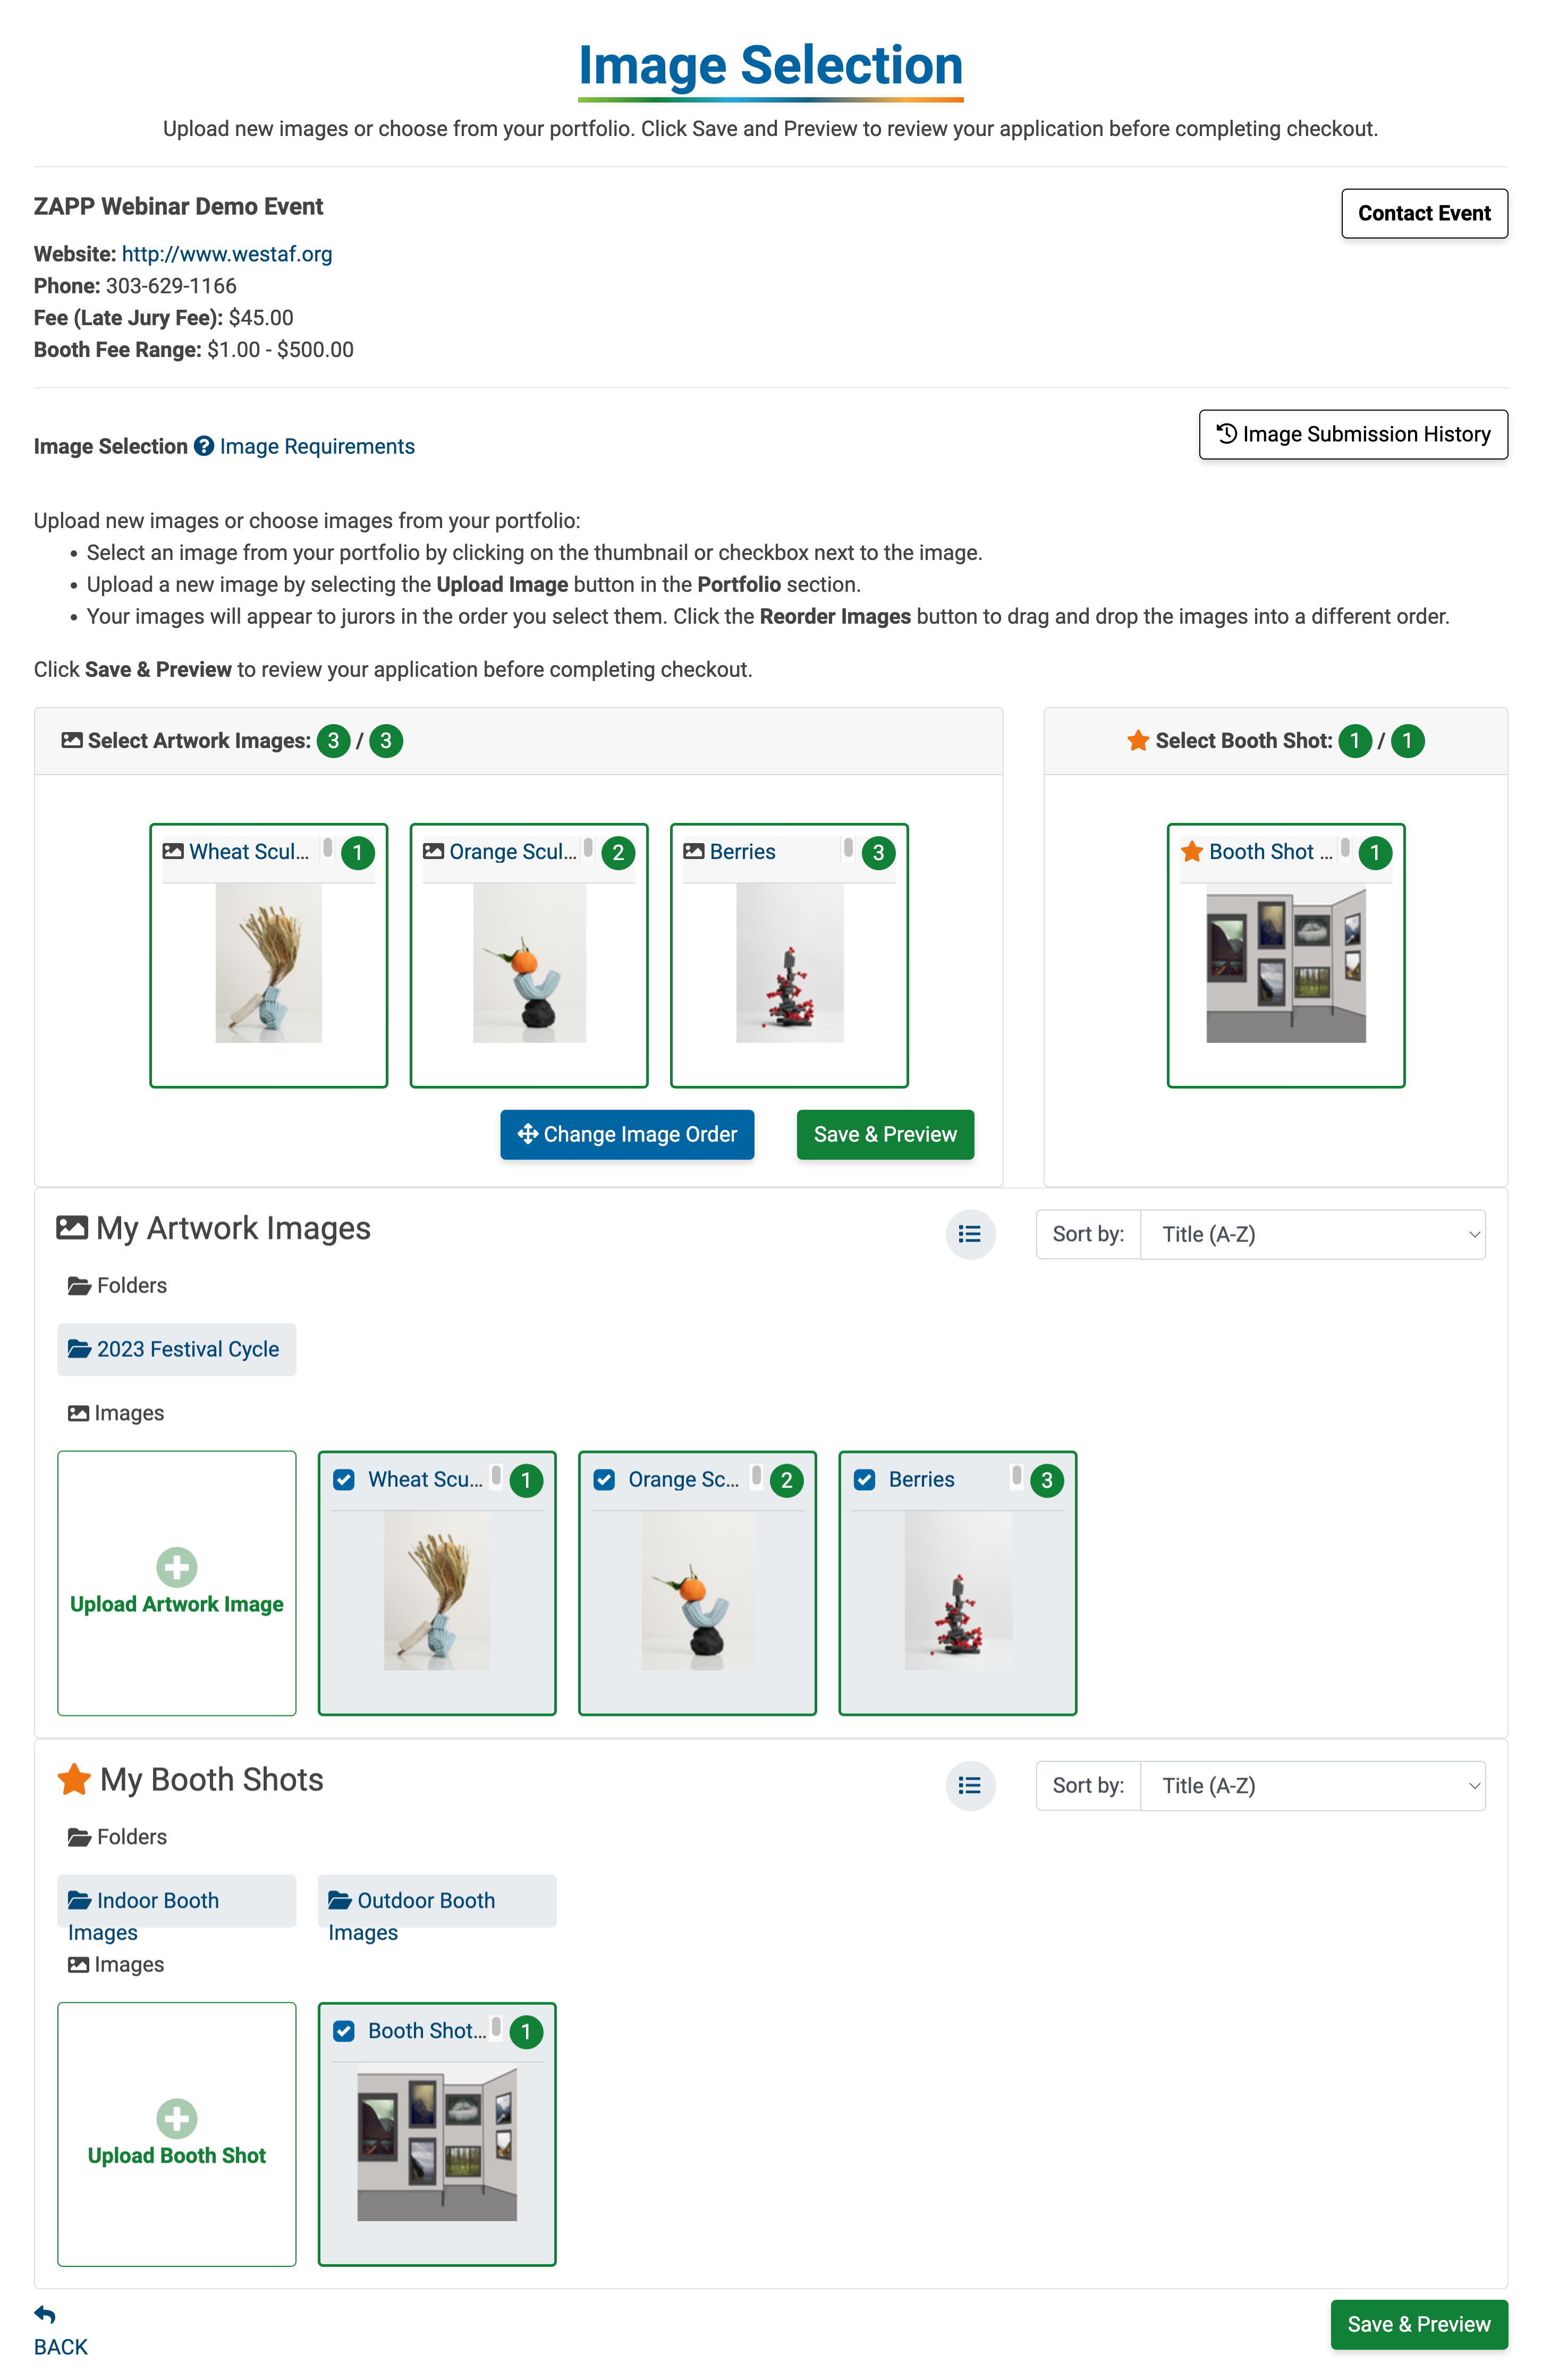
Once you are satisfied with your selection, click Save & Preview at the bottom of the page to preview your application.

If you are completing your application on a computer, click Preview as Juror to see your images as they will be displayed to jurors. You can zoom in and out on images by scrolling or by using the bar at the top of the preview window.
If you need to make edits to your application, click Edit Application. You will be unable to edit your application once you have completed checkout without permission from the administrator. To submit your application, click the green Checkout button and proceed to the ZAPP Shop to pay the application or jury fee. Click here for a guide on checking out products in the ZAPP Shop.
Once you have paid your application or jury fee, your application will be listed as Received on the My ZAPPlications page.
APPLYING MULTIPLE TIMES
Certain shows on ZAPP allow artists to apply multiple times. To submit another application, select the show you wish to apply to again from your My ZAPPlications page and click Apply to Show. Repeat the steps above to complete and submit your additional application.